
Python is an open-source programming and scripting language which has a wide variety of uses in both industry and academia. The strength of the language lies in its compact syntax and the multitude of packages available to extend the functionality of your Python install.
You can uses Python in day-to-day engineering, development of standalone applications and development of web applications.
If you are reading this, it means you are eager to learn more about Python and to start using it for your own purposes. The intention of this guide is to be a practical resource for Python developers, from novice to expert level.
This guide is not a programming course, self-study, trial and error and knowledge sharing are an essential part of the open source movement behind Python. This guide will offer plenty of links to resources where other have already put their knowledge on (virtual) paper. The rest is up to you!
The first article in this guide takes you through the steps required to get Python running on your machine.
1. Installing Anaconda
Anaconda is an open source distribution of Python including more than 100 of the most popular packages. It also includes conda for package management (which we will learn more about later on). Download Anaconda with Python 2.7 for Windows (NOT 3.x) here.
The installation of Anaconda is straightforward and happens as any normal program. Anaconda will install Python and the associated packages in the right places and will add the necessary directories to your system PATH. If you have a previous version of Python installed (without Anaconda) please remove it before installing Anaconda.
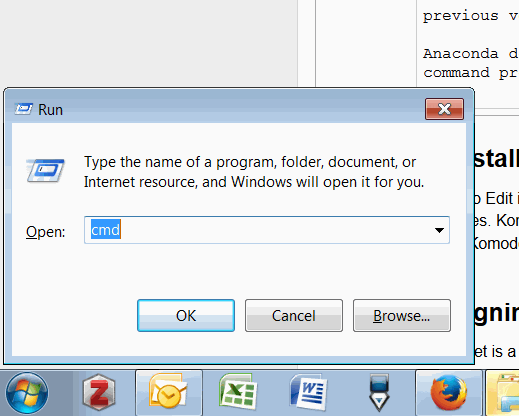
Anaconda does not have a graphical user interface but you can check that the installation was successfull by opening a command prompt ( + R and typing "cmd").
2. Installing Komodo Edit
Komodo Edit is a multi-language code editor. It is free (unlike its commercial counterpart Komodo IDE) but comes with all necessary features for most coding purposes. Komodo edit can be downloaded here. Install Komodo Edit as you would install any other Windows application.
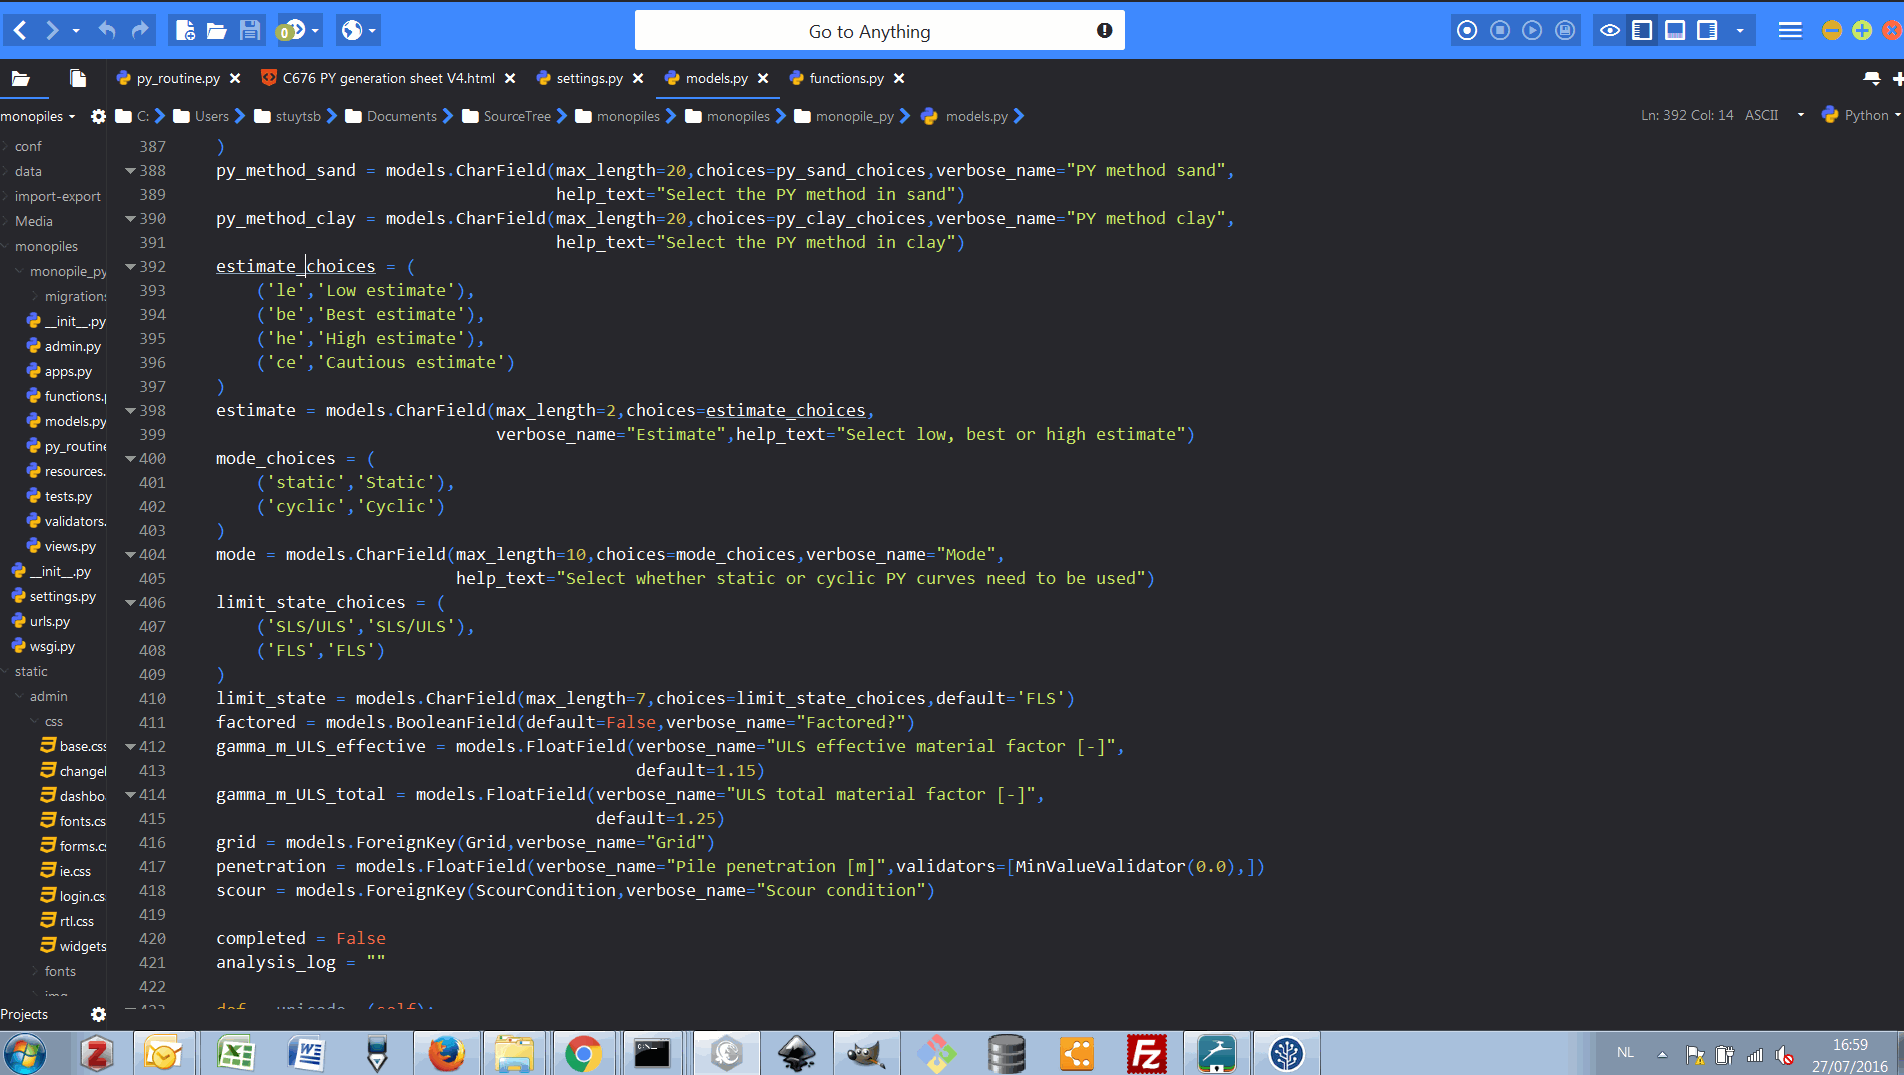
Komodo Edit should look like this when open. The icons in the center of the top-right icon group show or hide (from left to right):
- The left pane with a file browser
- The bottom pane with command output, notifications, ...
- The right pane with code snippets
The main menu can be found left of the three minimize, maximize, close icons.
3. Signing up for a Bitbucket account
Bitbucket is a cloud-based source code control system. We use Bitbucket for the following purposes:
- Keep track of changes in source code
- Distribute source code to in-company developers
- Work collaboratively on software projects with multiple users
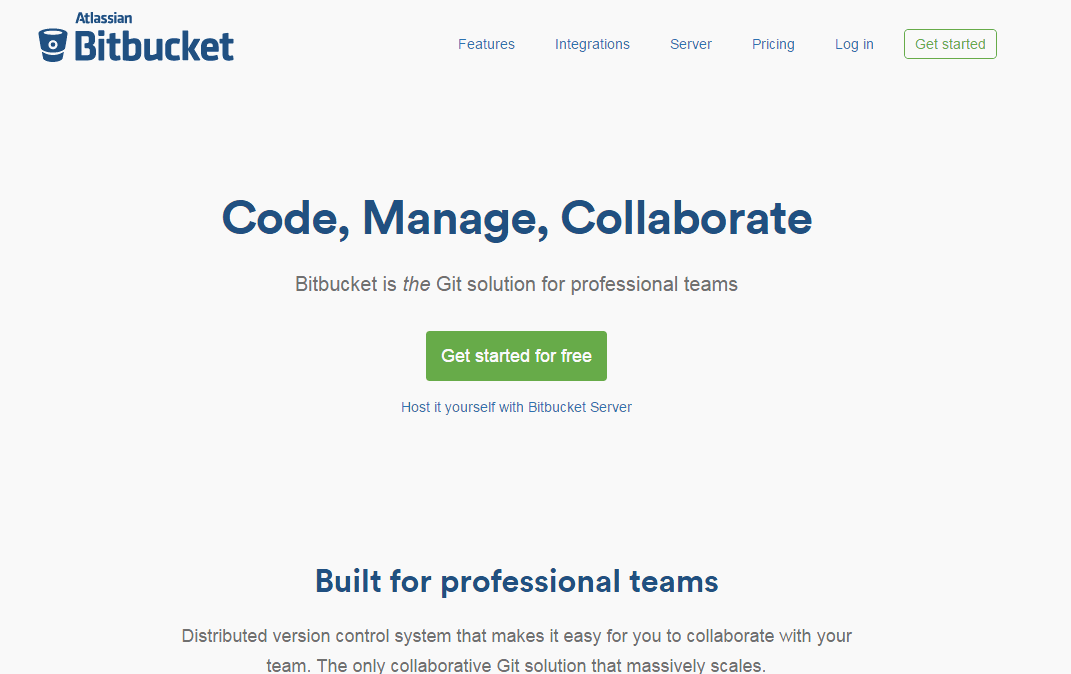
You can sign up for a free account here. Click the Get started for free button and complete the necessary steps to create your Bitbucket account.
Bitbucket uses git as a distributed version control system (DVCS) but we will get into detail on that later on.
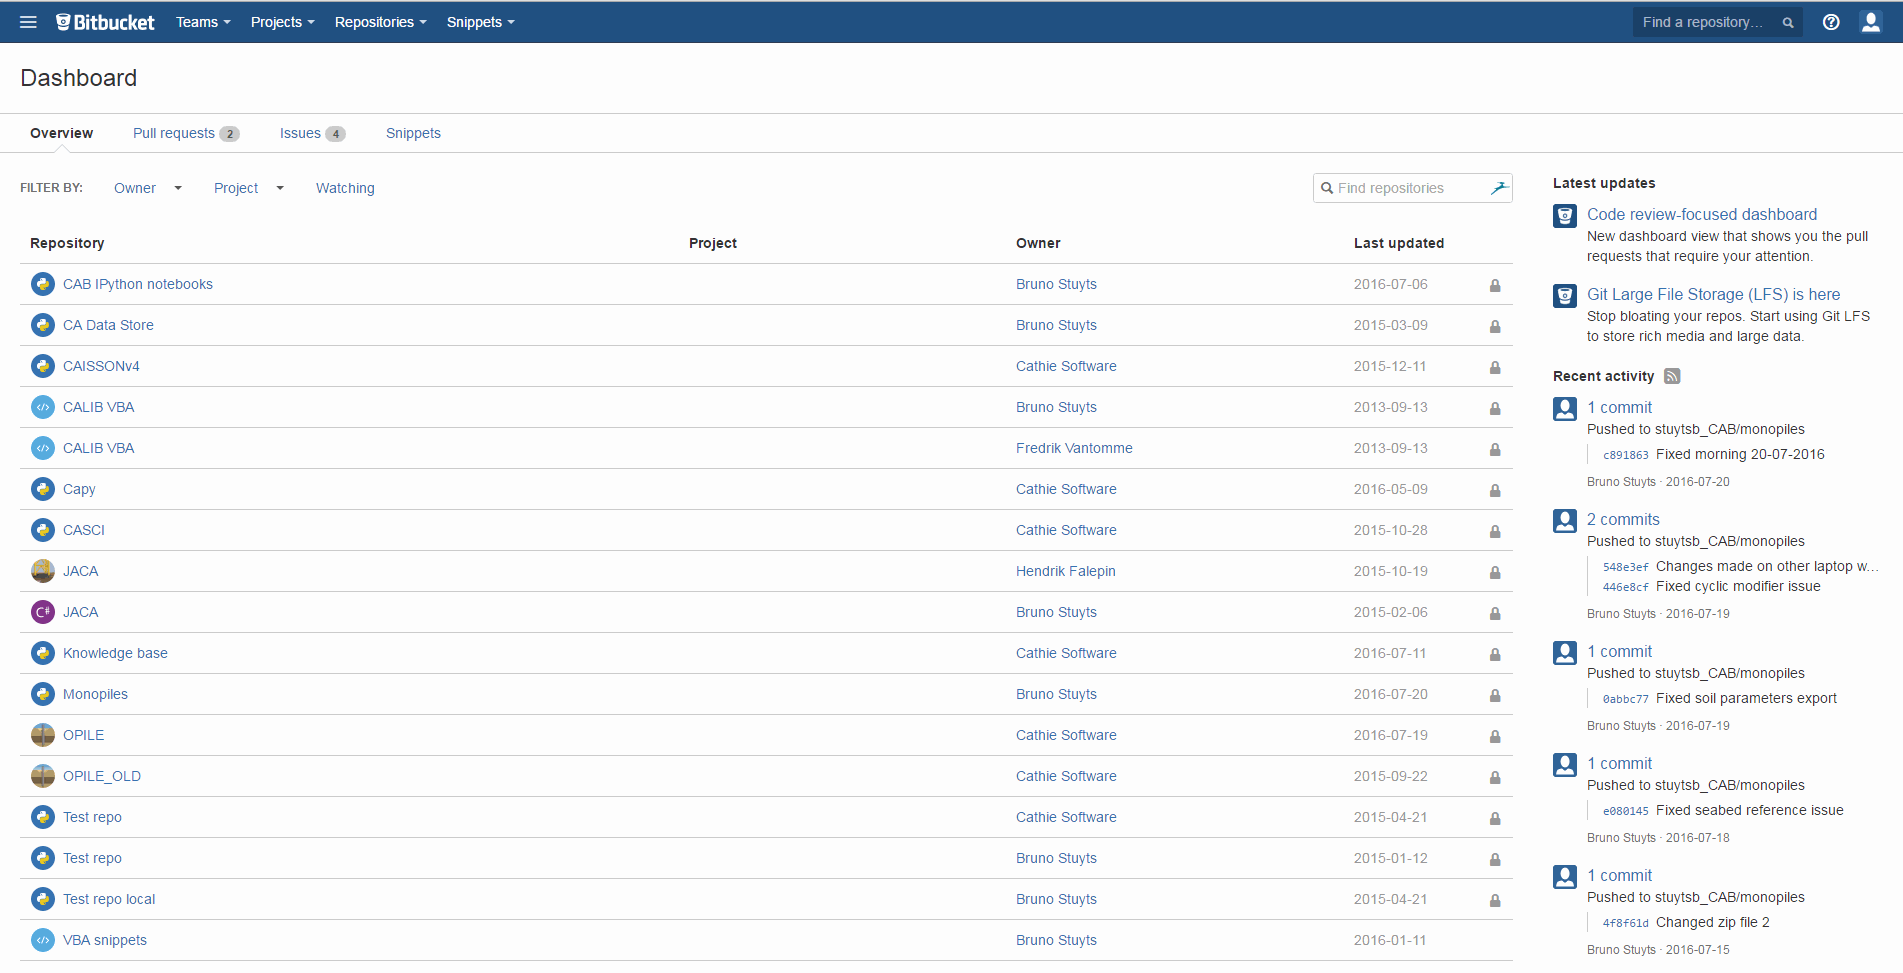
When logged in to Bitbucket, you will see the dashboard as shown below. As a new user, you won't see any code repositories (also called repos) as you haven't created any yet.
This guide will also be published as a code repository since any changes to this guide should also be logged and controlled contributions from others should be possible.
4. Installing SourceTree
git is a very useful and mature DVCS but its command line interface can be a bit daunting. That's why the people at Atlassian have developed SourceTree which is a graphical interface for git. You can download SourceTree here.
When you install SourceTree, the installer will ask you to connect it with your Atlassian account. The username and credentials are the same as your Bitbucket account. The rest of the installation happens as with any other Windows program.
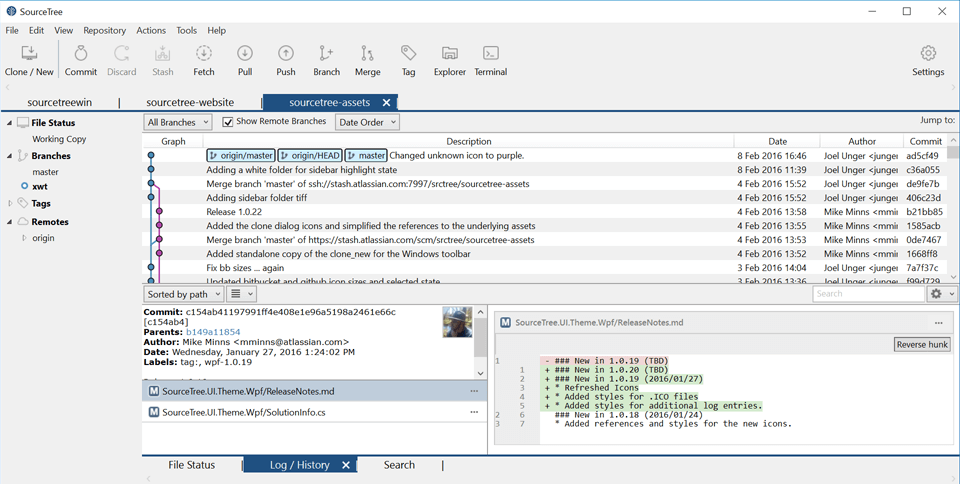
When opening SourceTree, the interface below will show up. As a new user, you will not see any code repositories We will cover basic usage of SourceTree in a separate article about source code control.
5. All set
With these basic programs installed, you are all set for further configuration of your Python install. In the next article, we will cover package management and virtual environments.
6. Resources
As promised, here are a couple of resources on Python and programming in general.
Basic Python programming courses
- Learn Python by Trinket: A great interactive experience for learning basic Python programming. You need to sign up for a Trinket account but it is free and worth the while.
- Dive into Python: A comprehensive guide on Python programming. The style of the page is not always very attrictive though.
- Let's learn Python: A series of videos with basic examples of Python coding ranging from basic operations to fairly complex object-oriented programs. Takes some time to watch all of it but very accessible
Mailing lists
I use mailing lists as a way to stay up to date with the latest developments in the Python ecosystem and as a way to learn new things. I'm signed up to the following two and would recommend anybody else with an interest to do so as well:
Help
As I've said before, Python is all about the community, self-study and trial and error. So the source for help are not your standard helpdesk. I use the following to keep going when I'm stuck:
- Google: If you type in the error you see on screen or the question you have, Google is bound to come up with at least some results which are relevant. Did you know that the Google search engine was written in Python?
- StackOverflow: Question and answer website where answers are rated by the community so you will always find the best answer at the top. The Q&A forum for T-HL IT works according to the same principle.