
Basics of distributed version control with git
Part 1 - Installation, cloning, staging, committing, pushing and pulling
When it comes to software development, the importance of keeping track of changes in source code and team collaboration cannot be overstated. Imagine that changes by one user would unknowingly be overwritten by another developer, then there would be no control over the quality of the end product.
Distributed version control systems (DVCS) were developed to solve exactly this problem. In fact, git, the system we are going to use, was developed by Linus Thorvalds to allow the development of the Linux kernel. Linux now powers billions of smartphones, tablets and servers, so that's a pretty convincing track record.
In this post, I won't go through every detail of using git. There are plenty of good resources (listed in the final section) for those who want a deeper understanding. Rather than doing that, I will focus on presenting a secure software development workflow which ensures integrity of releases, freedom for the individual developer and testing possibilities before deployment. Even when limiting myself to this, I will still split this post into two posts since there is a lot of info to digest.
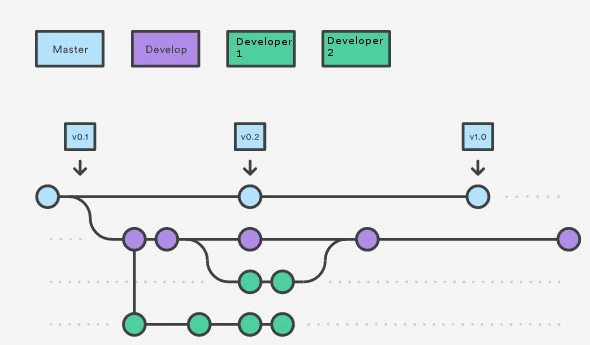
This workflow is derived from the git flow workflow and illustrated below. In this workflow, there is a master code branch (light blue) which holds the latest official release of the software. Below is a development branch (purple) which brings together the features developed by individual developers and allow testing before release. Access to these first two branches is restricted to admin users. Finally, you have branches for every individual developer (turquoise) on which only the developer in question can work.
That's a very brief intro to the workflow we'll use. If this is not very clear yet, don't worry. We will elaborate it in much more detail in the sections below. First, we will start by installing git.
Installing git-scm
During the "Getting started with Python" post, I showed how to install SourceTree. However, it seems like to program has become increasingly slow and therefore, I have decided to write this tutorial using the git bash command line tool which is less graphical but much quicker.
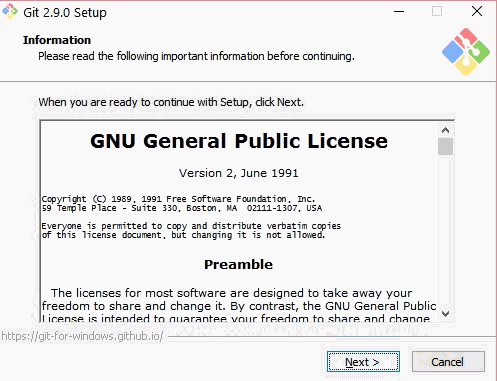
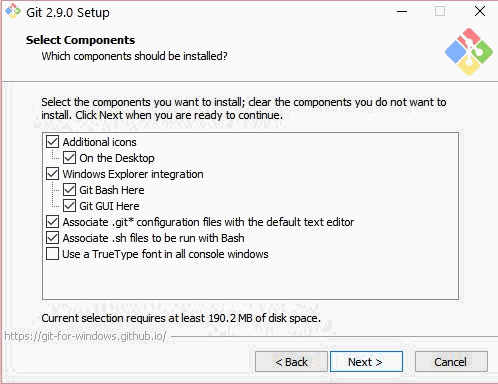
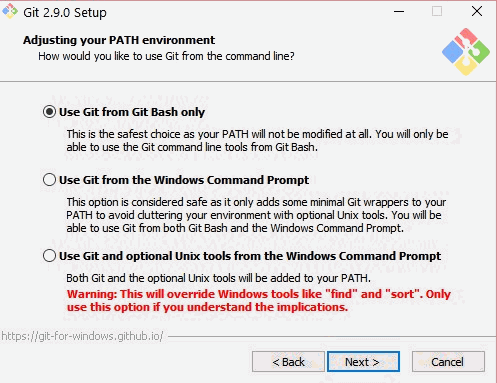
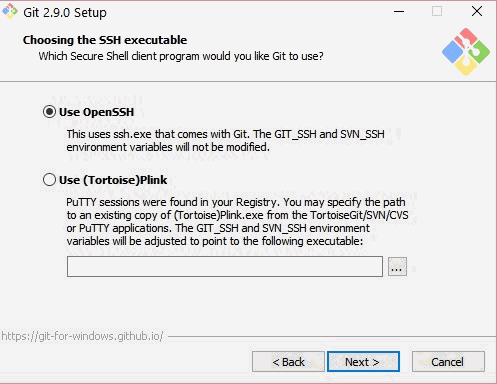
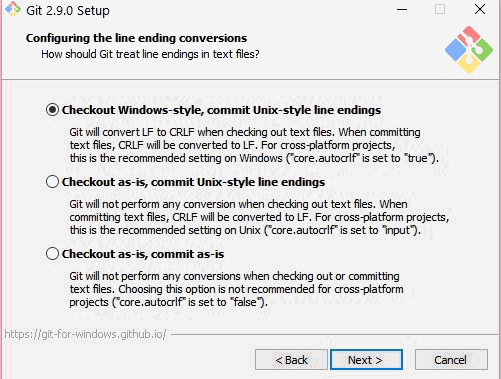
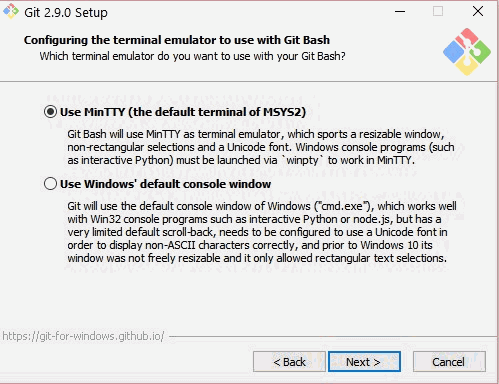
You can install git-scm from the website. The latest version at the time of writing is 2.10. The pictures below are for 2.9 but the installation process is identical. Just select the options shown in the images:

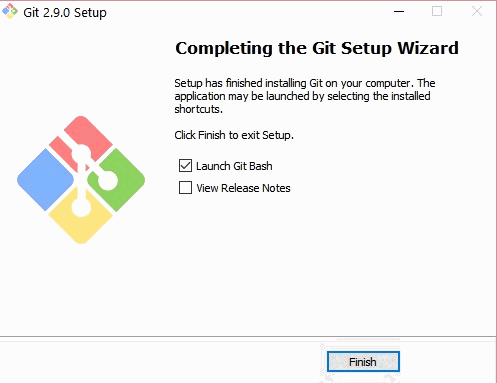
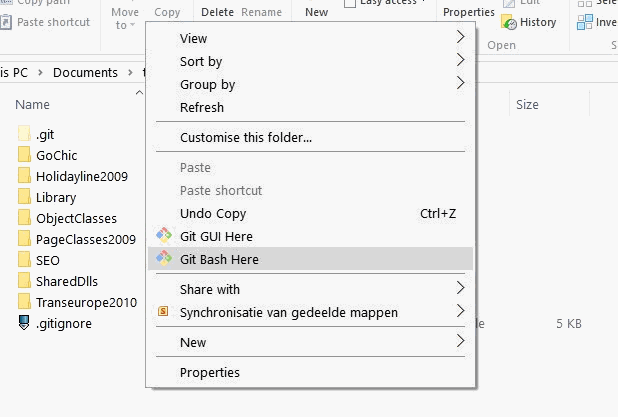
When you have finished installing git-scm, you can right-click in any folder and run git Bash (a command line tool) there. Folders which are under git source code control can be recognized by the .git hidden folder.
In the next step, we will set up a git repository in Bitbucket and clone it on a local computer.
Creating a repository and cloning it to a local PC
Definitions
Let's start with a few definitions:
- Repository (abbreviation repo: A code repository is a collection of files and folders containing the source code of a given software project.
- Local repository: A copy of the codebase which exists on your local PC and usually contains your (unfinished) work
- Remote repository: A copy of the codebase which exists in the cloud and which contains changes from all developers working on the codebase
Usually, you will work from a repository which is created in the cloud (remote) and put it on our local machine. This process is called cloning.
Setting up the remote repository
Let's set up a repository called Test repository under your own Bitbucket account.
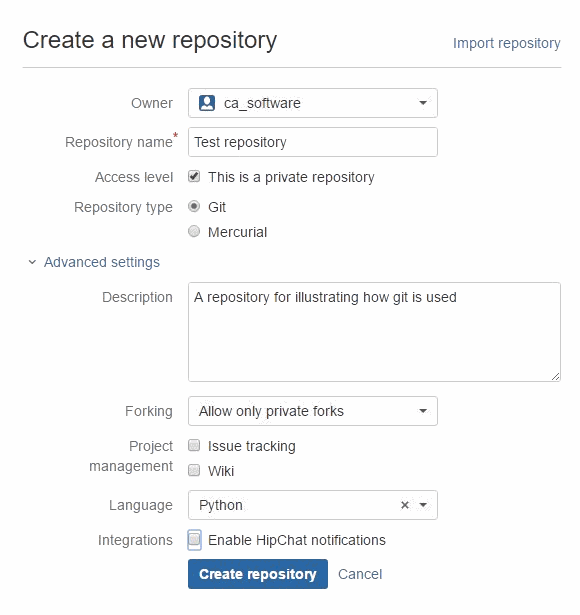
Fill in the details as shown below. The owner should be yourself. The repository is private meaning that access rights need to be explicitly given to anyone wanting to work on this repository.
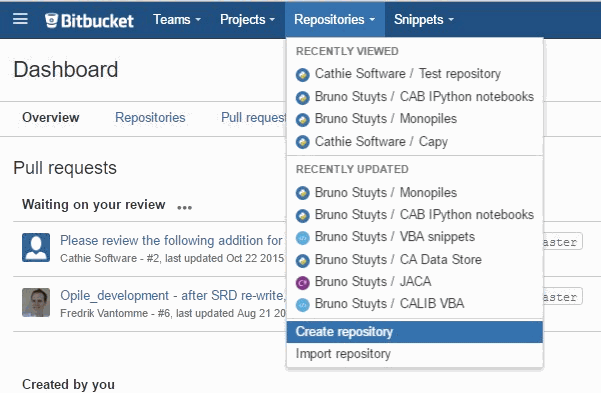
Once you have done this, the repository Test repository will show up in the section Repositories on your dashboard. This means that you have created the online (remote) copy of the repo. Now let's get this repository onto your local PC.
Cloning a remote repository onto your local hard drive
When you clone a repository, you need to specify its URL, log in with your Bitbucket credentials and copy the files to your PC. Follow these steps to achieve this:
- 1) Navigate to the folder where you want to place the folder with codebase
- 2) Open a git bash commandline window in this folder (Right-click>Git bash here)
- 3) Enter the following command (replace yourusername by your Bitbucket username):
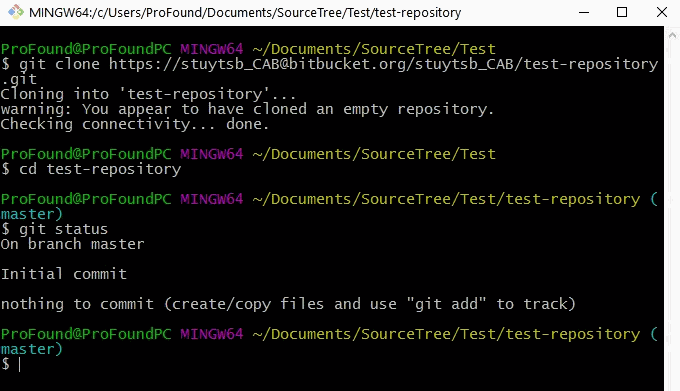
git clone https://yourusername@bitbucket.org/yourusername/test-repository.git
- 4) Supply your Bitbucket credentials
This will create a folder test-repository on your local filesystem where you can start working. Since we haven't yet added any files, git will warn you that you have cloned an empty repository. Enter this directory with
cd test-repository
You will then see that you are in the correct folder because git puts the branch name next to the directory name (master) inside blue brackets. We'll talk more about branches later on. Folders which are not under git source control don't display the branch name.
You can always run the command git status to get information on the state. Git will tell you that there is nothing to commit since we haven't made any changes.
Adding, commiting and pushing
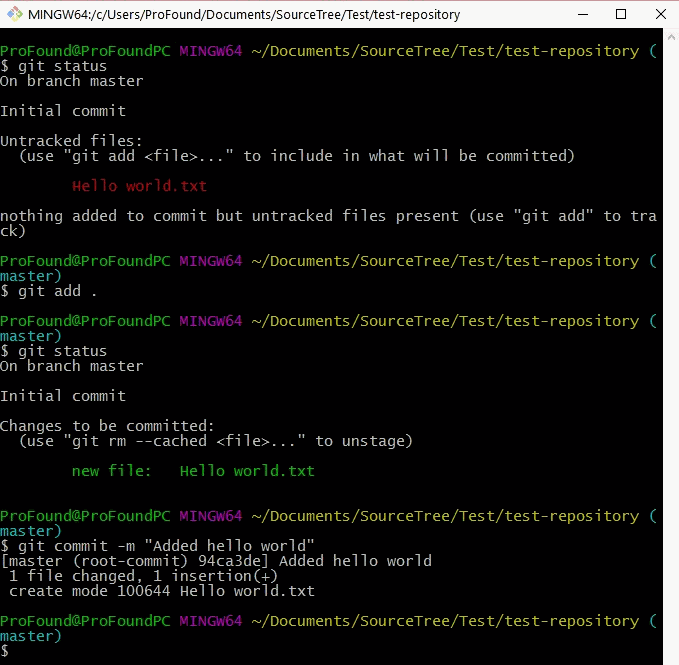
You are now ready to start working on your code. Let's create a text file (Hello world.txt) in the folder test-repository and type the text Hello world.
Once you've done this, you can open git bash, and check the status. It will first tell you that the file Hello world.txt is untracker, we need to add it to source control with:
git add .
The dot (.) after add ensures that all changes get added. Next, we need to commit the file. This means we are creating a snapshot of our codebase at this given point in time so that we can compare any future changes against this state. You can commit with:
git commit -m "Added hello world"
The text inside double quotes after the -m is a commit message which can be used to easily recognize the commit.
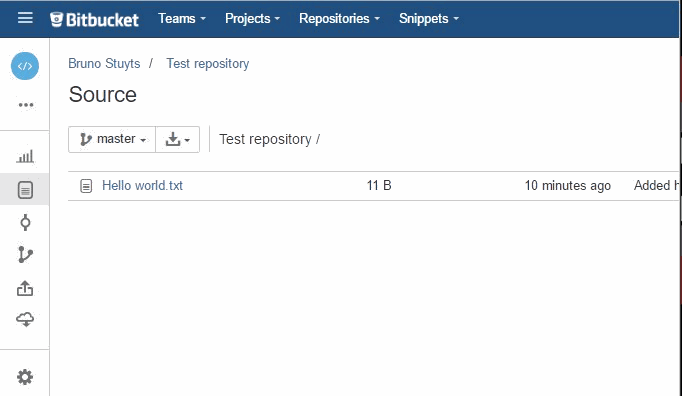
Now, the changes we have made are still local (you won't see them on your bitbucket.org page). To put our changes into the remote repo, we need to pushfrom the local to the remote repo. This is achieved with:
git push
The result from this operation is shown below.
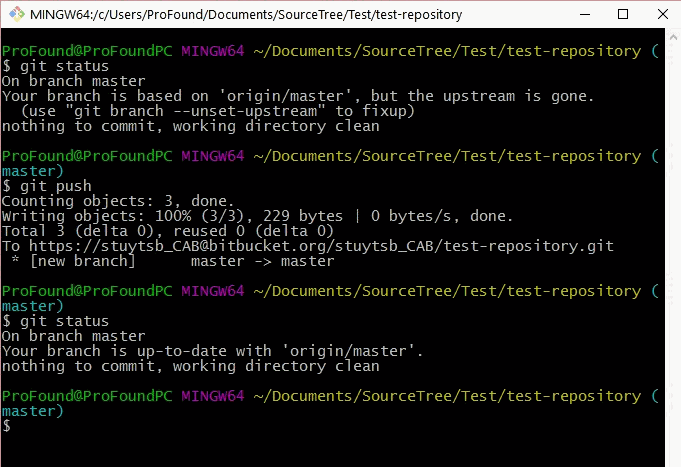
You can also navigate to the repository in Bitbucket.org and you will see that Hello world.txt is now in your remote repo.
Pulling changes from a remote repo
If the online (remote) repo has changes which we do not yet have locally, we can pull to merge those changes with our local repo (on the harddrive of your PC).
Let's illustrate this by adding a file via bitbucket.org. In the previous interface, you will see New file on the right-had side. Click it and add a file Contributors.txt and put some text in it. Then press the Commit button and commit the changes (leave all defaults selected).

The remote source code now contains the file you have just created but this file does not yet exist locally.
In git bash, execute the command git fetch to let git extract information from the remote repo (but not yet put the file on your local copy). If you run git status, it will tell you that your local repo is behind the remote (because the local does not have the file Contributors.txt). To put this file in your local repo, use the command git pull. When completed, you will see that your local directory also contains the file which you created online.

References
- Atlassian has very good basic documentation on git
- If you do choose to go with SourceTree, you can read a tutorial here
- The git documentation center contains a lot of resources
- The git cheat sheet is a must have as a quick reference for git everyday use